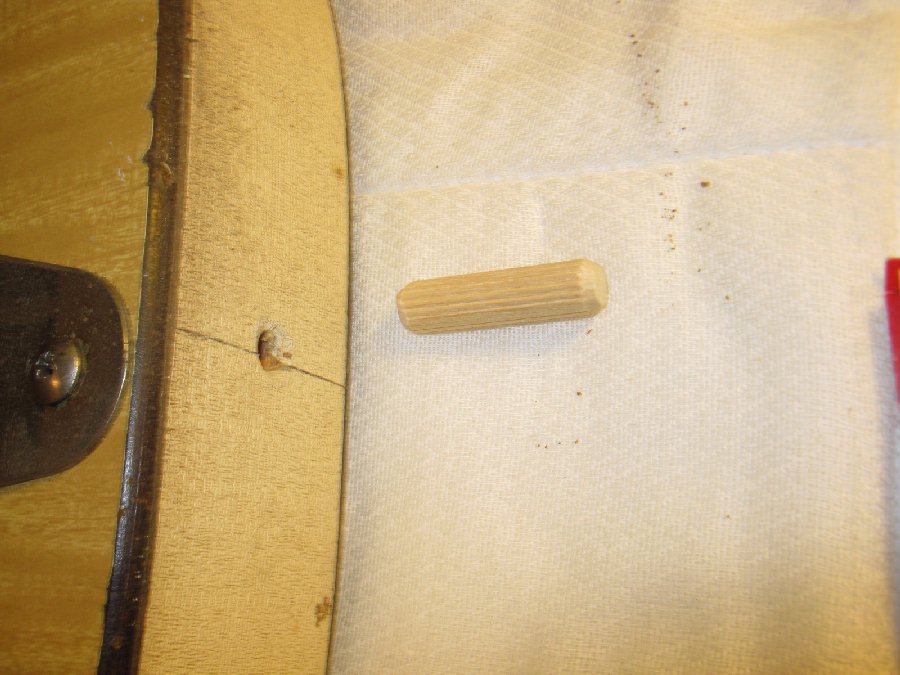
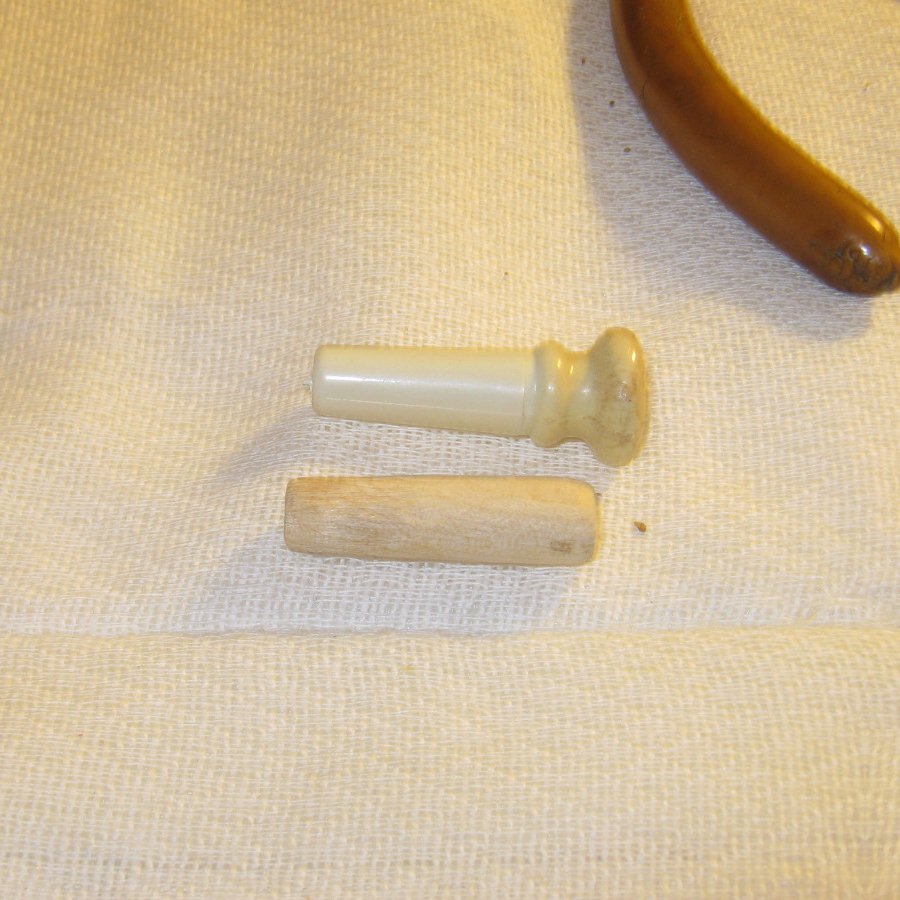
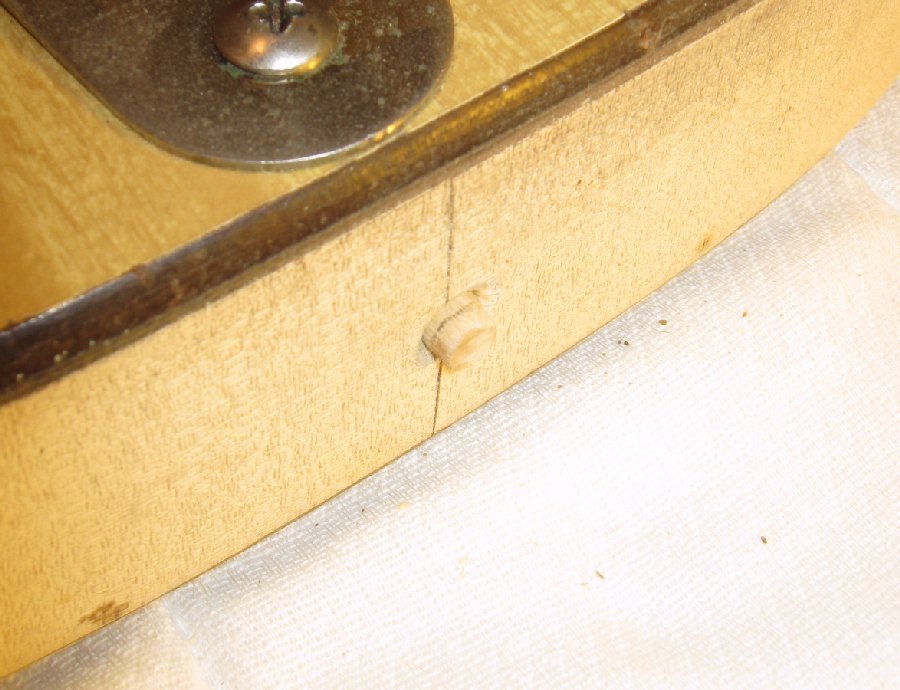
For this guitar, the Customer wanted metal strap buttons instead of original plastic push-in buttons; So I took a standard carpenter's dowel pin and formed it to fit snugly into the strap button hole, into which we drill a pilot hole and screw the metal strap pins into the pilot holes. Here's the starting point:
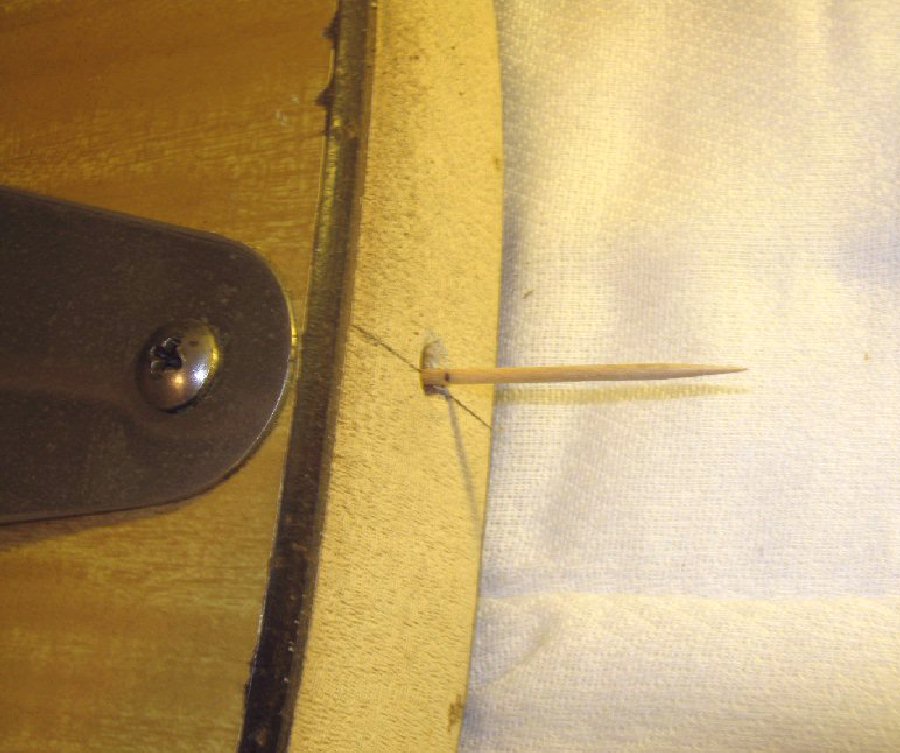
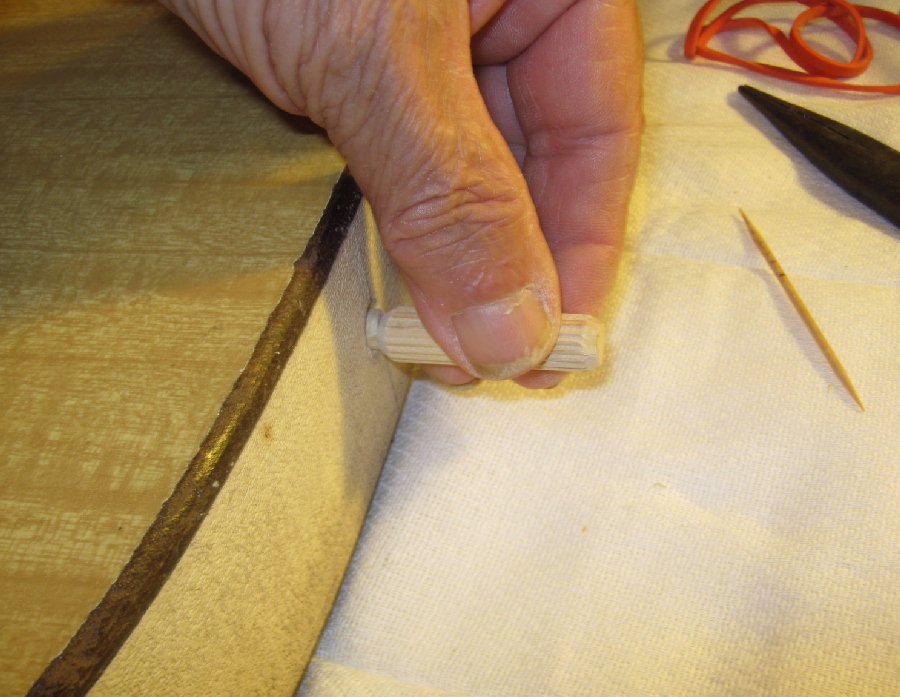
After the dowel is shaped well, we measure the depth of the hole with something that fits loosely and mark the depth onto it with a pencil.
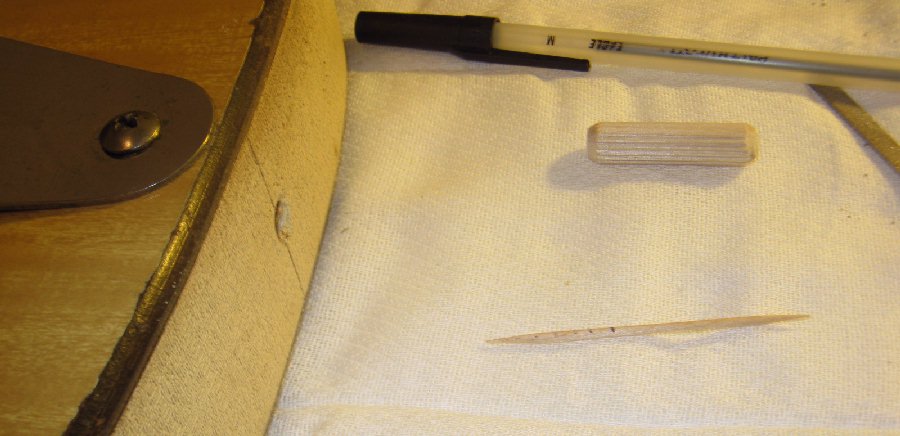
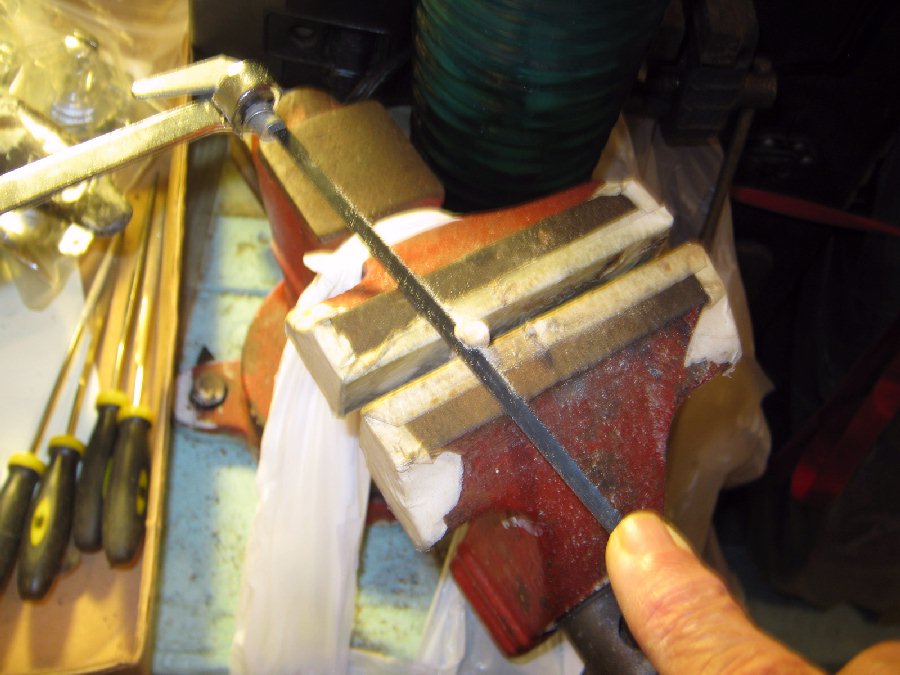
With that measrement we cut the dowel a tad bit shorter just to make sure it will go all the way into the strap button hole without bottoming out in the hole. If it bottoms out tight with some left higher than the surface of the guitar, it could be an unneccessary chore to get it out since we can't trim it down further while it's in the hole without risking damage to the guitar surfaces around the hole. I am using the vice as a cutting barrier to help ensure a good, squared and flat cut.
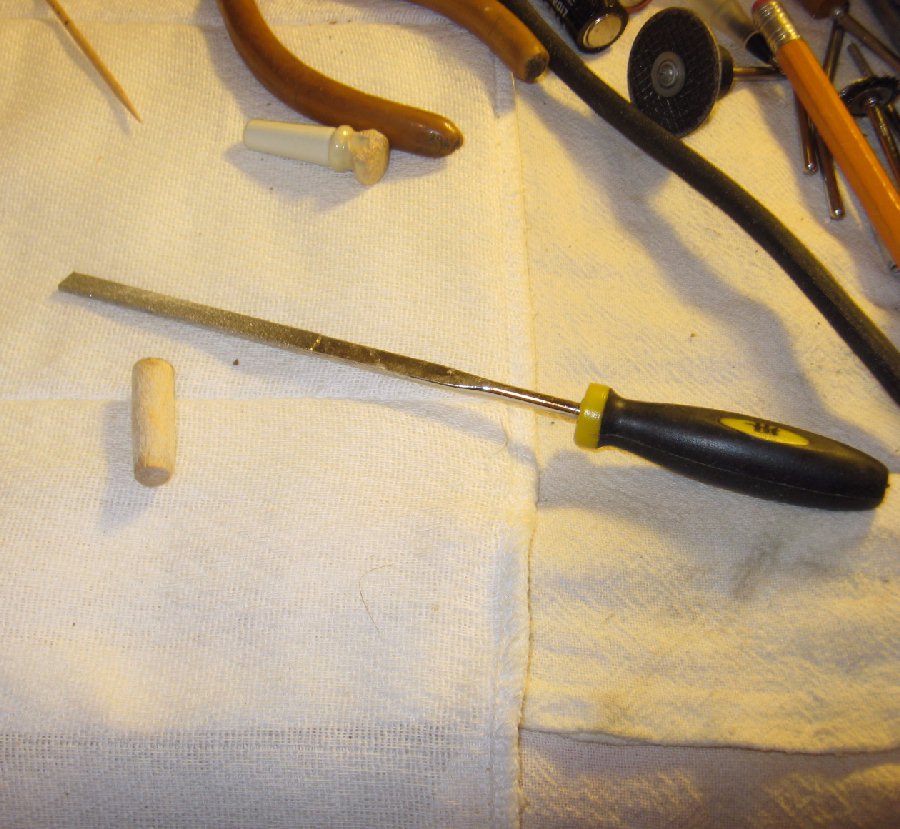
Then we sand or file down the dowel to match a plastic strap pin's shape. We want a full-depth dowel for maximum gluing surface and thus best ensure our metal strap buttons get the best grip they can without a permanant gluing. When the new strap buttons are screwed in, the threads will expand the dowel to fit even tighter.
We now sparingly seal & prime the dowel and the hole with water based exterior carpenters glue thinned with water, and apply it sparingly inside the hole by using a Q-tip as a brush, and apply it sparingly onto the pin using a small artist brush as an applicator. When the thinned glue / sealer / primer has set for about 10 minutes, we then apply a thin coat to the pin and insert the pin into it's hole. The primer / sealer will soak down into the wood a bit giving us a good mechanical grip on the wood while giving us a good chemical bond with the 2nd coat of glue on the dowel.
Now we tap the dowel into the hole. Use another suitable piece of wood, such as another dowel pin as shown below, as a punch to tap on so we don't inadvertantly strike the guitar. We previously measured the length of the guitar's dowel pin short of the depth of the hole so we know the dowel pin will tap down flush and won't bottom out higher than flush.
With the depth marked onto the dowel we insert the dowel loosely into the hole to make sure the fit is good and that the dowel won't bottom out in the hole at the depth we have marked.
(We will use that extra dowel pin as a punch to tap the new dowel into the hole).