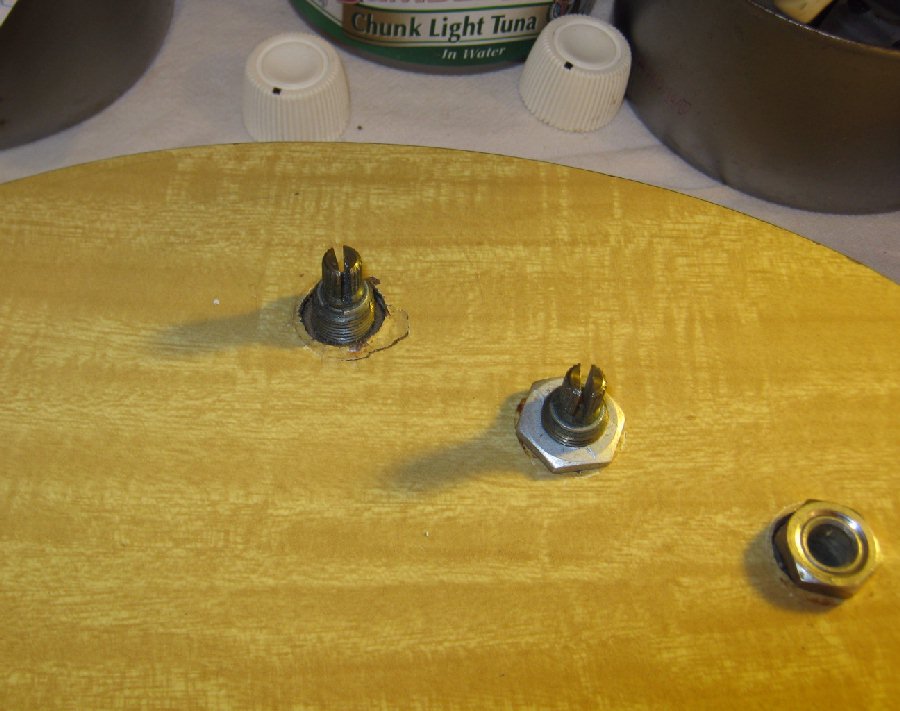
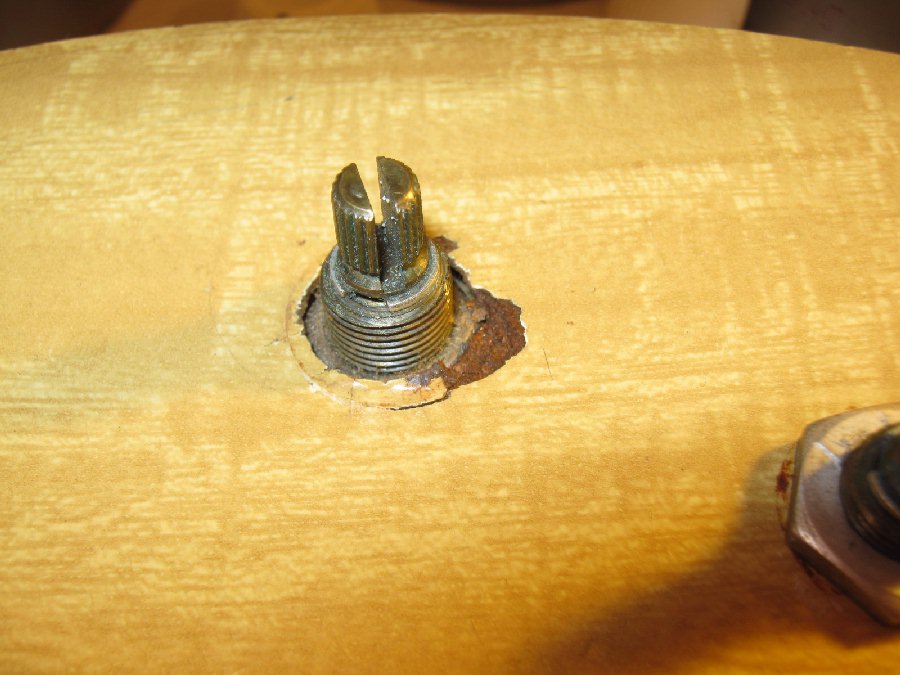
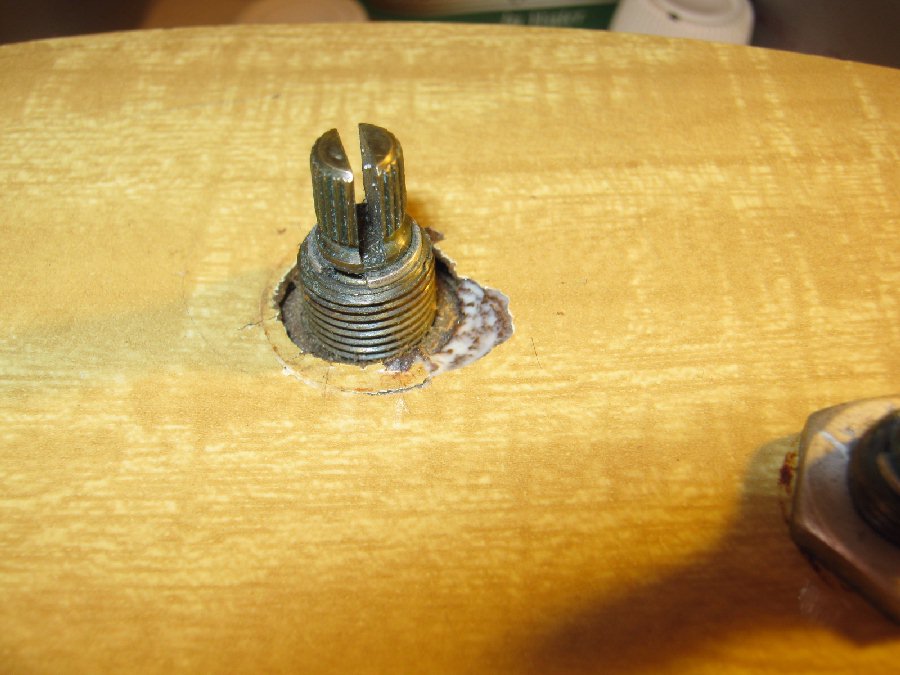
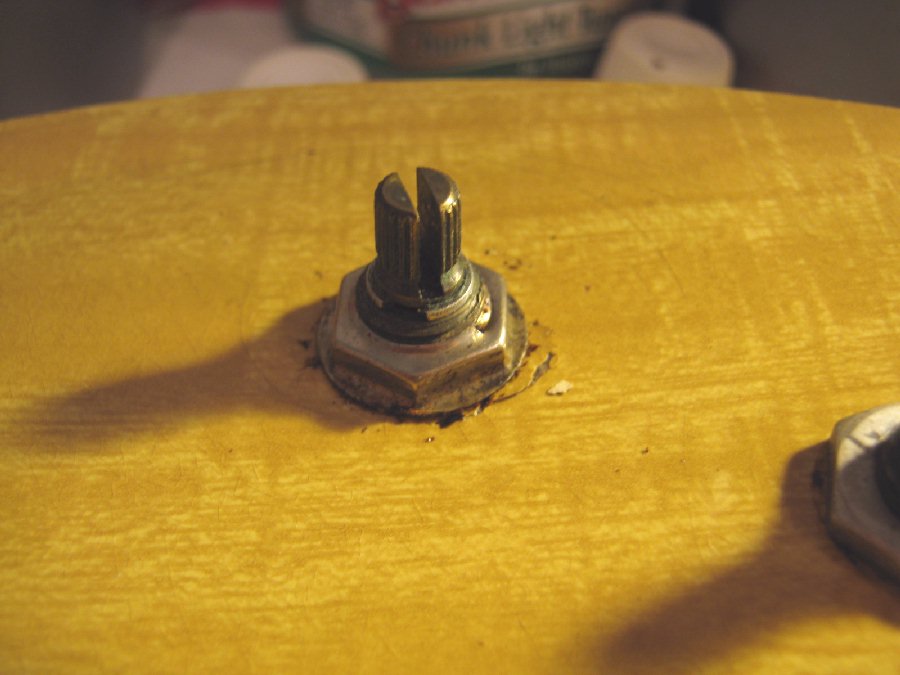
A very common place for old-vintage Danelectros to chip and crack, due to over-tightening the nut and / or impacts upon the knobs.
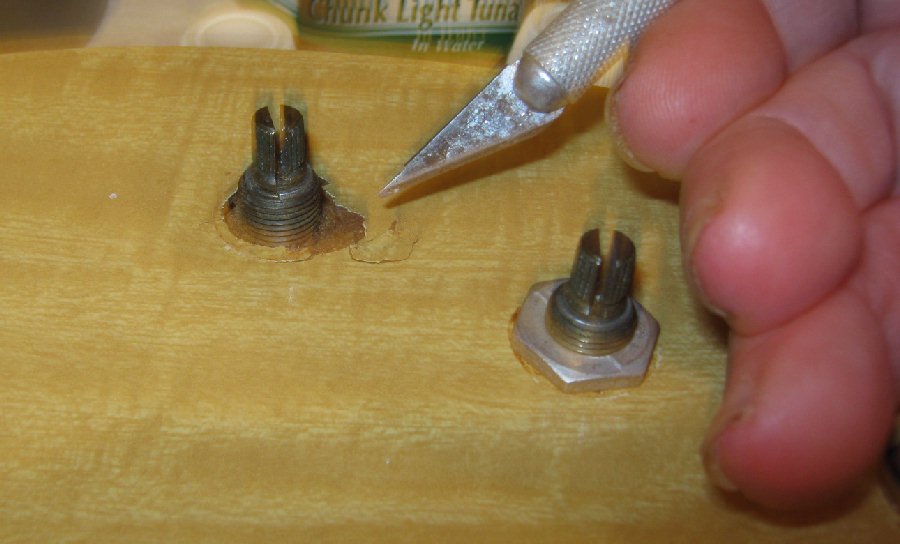
Carefully lift off any loose pieces, even if a little bit of force is needed. Use the blade to clean the surfaces of any loose crumbs as well. While the surfaces are dry before glueing; Practice putting the piece(s) back in place so you will have a feel for it. Because Masonite is underlying the formica top, ....sometimes the surfaces have not only chipped or cracked but have also expanded from sweat, humidity, etc, and the masonite (not the formica) will have to be carefully sanded down so they fit back in place nice and flat.
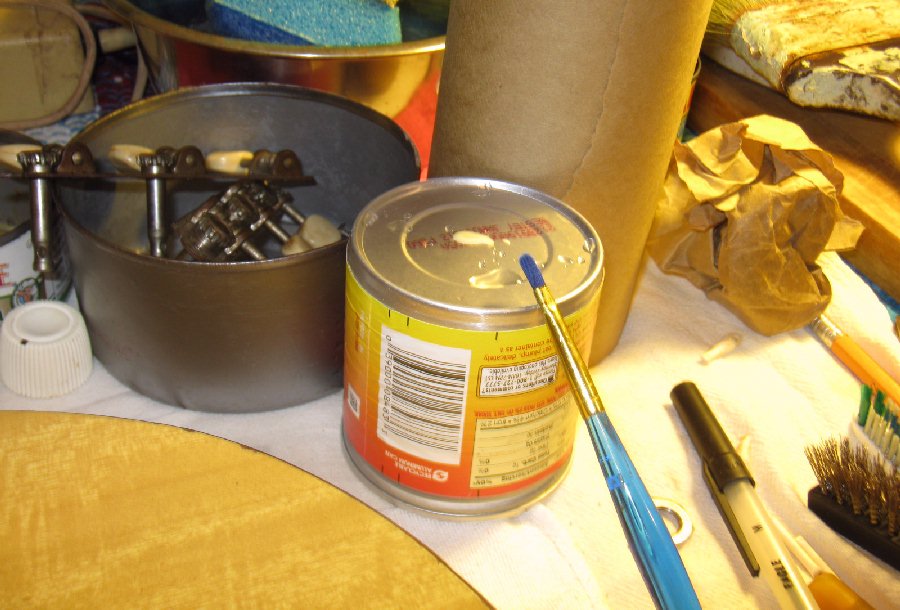
When we have a nice feel for how the pieces are going to fit back together, we then get out our white or yellow water-based carpenters glue, and a small artist brush, and a clean food can; Tuna cans work great. To make a sealer / primer we place a large drop of water and a large drop of glue on the bottom of the food can, ....and with the brush also wet with water we mix a little water from the drop into the drop of glue to make about 50/50 thinned glue and use it as a sealer / primer applied with the artist brush.
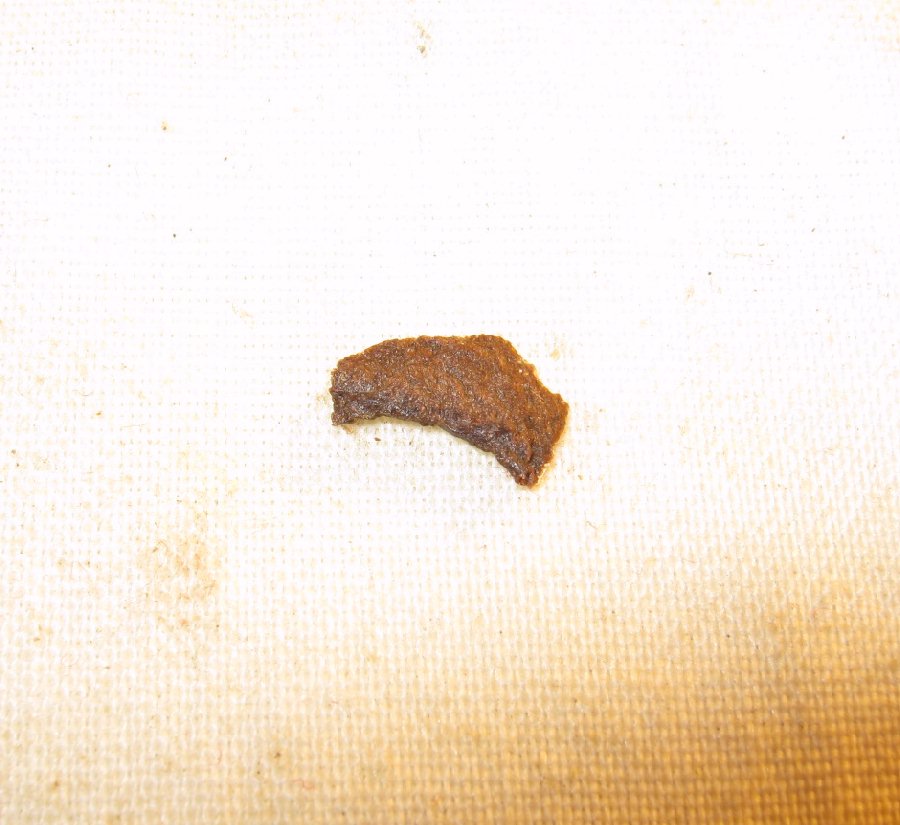
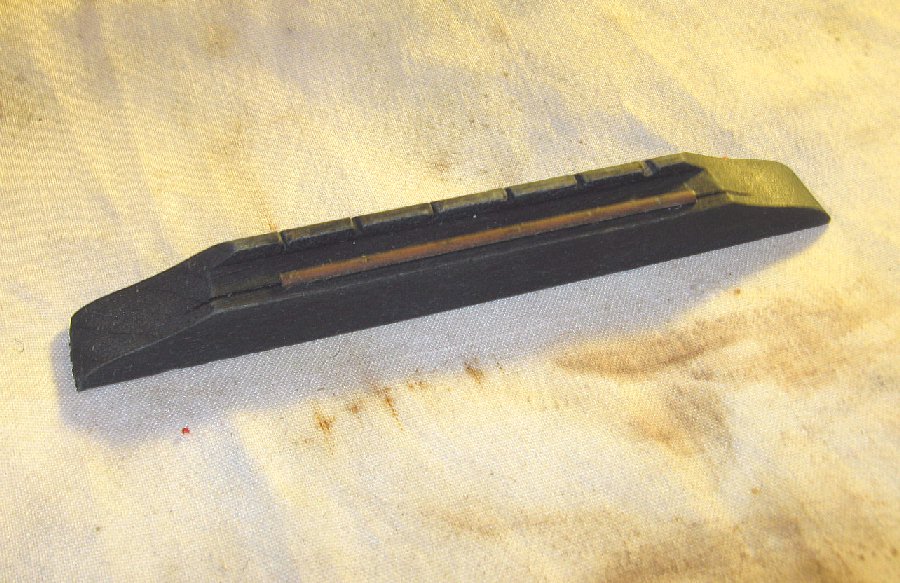
The back side of this masonite chip has masonite still glued tight to it, and such pieces sometimes need to be sanded down when / if the chip became swollen / expanded as previously said above. If sanding is needed, the contour of the piece should be maintained as much as possible / feasible; Although spaces made in the contour of the surfaces will fill with the final gluing, it's best to have the least amount of space distorted by sanding because the countour helps feel for and hold a correct fit.
After the sealer / primer thinned glue as had about 20 minutes to soak in, then we put another drop of glue onto the can, pick it up with the brush wet with water, lightly mash the brush onto the edge of the glue drop to mix it wetness with it's load of glue, ....."scrape" the brush along the edge of the can to remove any excess glue load, and then carefully brush the glue remaining in the brush onto the surfaces to be glued. When / if the glue starts dragging the brush hairs, just add a tiny bit of water to the brush and a little more glue if needed. A person not experienced with fine / small painting will probably find it very helpful to put both elbows on the work table and hold the wrist of the painting hand with the other hand to steady the painting hand. The feel of applying the glue usually comes rather easy by using tiny little touches of the brush onto the surfaces, working out to the edges as the feel improves.
The back side of the masonite chip gets it's coat of fresh glue:
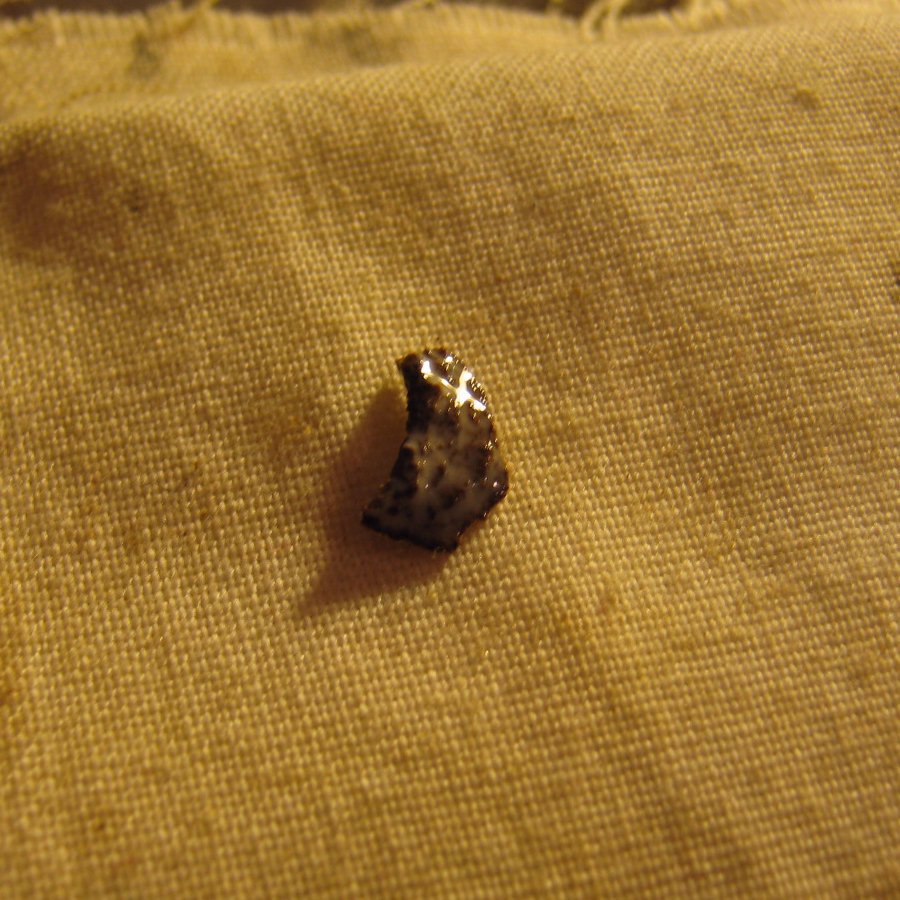
The tip of a razor knife blade, or the tip of a round toothpick, or the tip of a straight pin, ....can help move a stubborn piece into place and even hold it in place with slight pressure until the glue tacks. Notice also that I've left the crumbs that chipped off when I prep-cleaned the surface with a razor knife blade to remove such loose crumbs; They can be used to fill in small spaces that might remain:
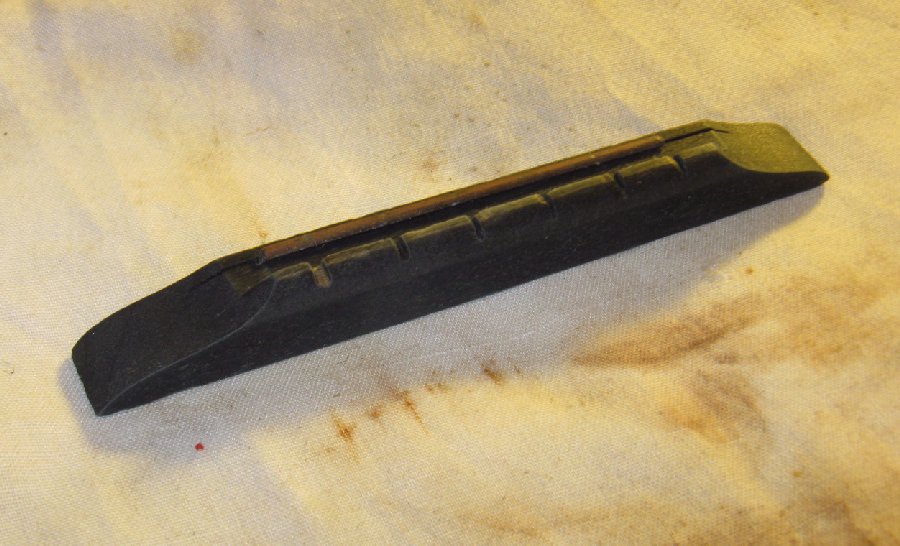
Here's the bridge after wiping it down with a small rag wet with a few drops of lemon oil: